
Technical context
Use the exact material and spool manufacturer's drying limits. A dryer setpoint is not proof of the actual spool temperature, and domestic ovens can overshoot. Avoid universal temperature tables when the polymer formulation, spool construction or equipment accuracy is unknown.
Practical workflow
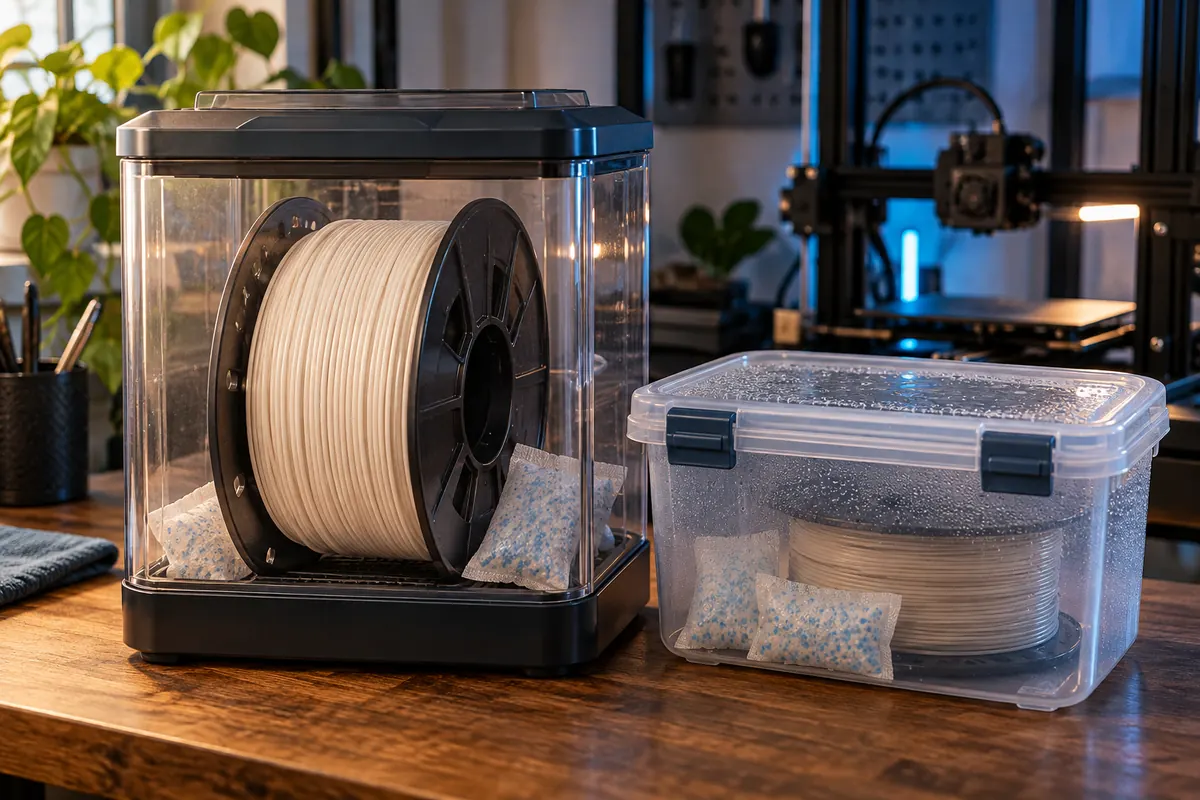
After drying, store in a sealed container with serviceable desiccant and track exposure. Popping, rough extrusion or strings can suggest moisture but also have other causes. Compare a controlled before-and-after print rather than declaring every brittle or stringing spool wet.
Calculation and units
Remaining = gross ? tare; usable = remaining ? reserve. Compare against total slicer consumption including supports and purge.
Worked example
430 g gross ? 210 g tare = 220 g. After 20 g reserve, 200 g is usable: 190 g fits, 215 g does not.
Validate the outcome
Label empty spool masses and check runout recovery before planning mid-print changes. Negative stock indicates inconsistent input.
Drying and storage answer different questions
A sealed container helps preserve a filament's condition; it is not automatically a drying system for material that is already wet. Likewise, a heater does not guarantee effective moisture removal if the process lacks suitable airflow and control. Decide whether you are preventing new absorption or recovering a spool for printing. Record material identity and spool construction before choosing equipment. The process must be compatible with both filament and spool, not merely a generic material family name on a chart.
Use the specific manufacturer's guidance
Obtain the recommended conditions for the actual filament and the equipment you intend to use. This article does not provide a universal drying temperature or duration. Additives, spool materials and equipment behaviour can change the appropriate process. Verify the dryer's real temperature control rather than assuming its displayed number is accurate. Avoid treating an unrelated household oven setting as an equivalent calibrated process. If the maker supplies no usable guidance, seek clarification or a suitable validated method instead of inventing a supposedly safe recipe.
Observe symptoms without making them a diagnosis
Popping, bubbles, inconsistent surfaces or increased stringing can suggest a material-condition problem, but nozzle residue, temperature or feed issues can produce overlapping symptoms. Print a repeatable baseline and compare it after a documented drying cycle while leaving other settings unchanged. A known-condition spool can be a useful control. Do not change retraction, temperature and drying simultaneously, because you will not know which change affected the result. Keep photographs and test settings so the comparison survives beyond a subjective memory of improvement.
Consider the whole spool and exposure history
A partly used spool may have different storage and exposure history from a newly opened one. Record time outside controlled storage and the surrounding conditions when they matter to your material. Surface appearance alone does not show the condition of every winding. Follow the documented process for the intended spool quantity and avoid assuming one short trial proves the entire spool is ready. Check for physical deformation or feeding problems afterwards. A drying step that changes spool shape can undermine an otherwise improved material condition.
Store in a deliberate closed system
Choose a storage method appropriate to the filament's sensitivity and your local environment. Keep containers closed when not in use and manage desiccant according to its own instructions. A humidity indicator is a useful observation within that container, not a direct measurement of moisture throughout the filament. Label spools with material and processing history. Separate known-ready stock from uncertain stock so production jobs do not depend on a last-minute guess. If printing from a controlled box, verify that its feed path does not add excessive resistance.
Keep recovery and quality validation connected
After processing, repeat a relevant test and inspect extrusion consistency, surface and functional behaviour. If defects remain, investigate other causes rather than endlessly drying the same spool. Some material damage or contamination may not be reversed by moisture removal. Save the accepted process record with the material profile, and plan drying as a scheduled preparation stage when required. Its equipment time and active handling can belong in your production costing, but they are not automatically included in the slicer's print duration.
Does desiccant replace a drying process?
Not automatically. Storage preservation and recovery of absorbed moisture are separate tasks; use a process appropriate to the actual material.
Can I use one temperature for every spool?
No universal setting is justified. Follow material, spool and equipment guidance and validate the result.