
Slicer settings
Understand your printer, improve your workflow and find answers for your next project.
Practical printing guides
 Slicer settings
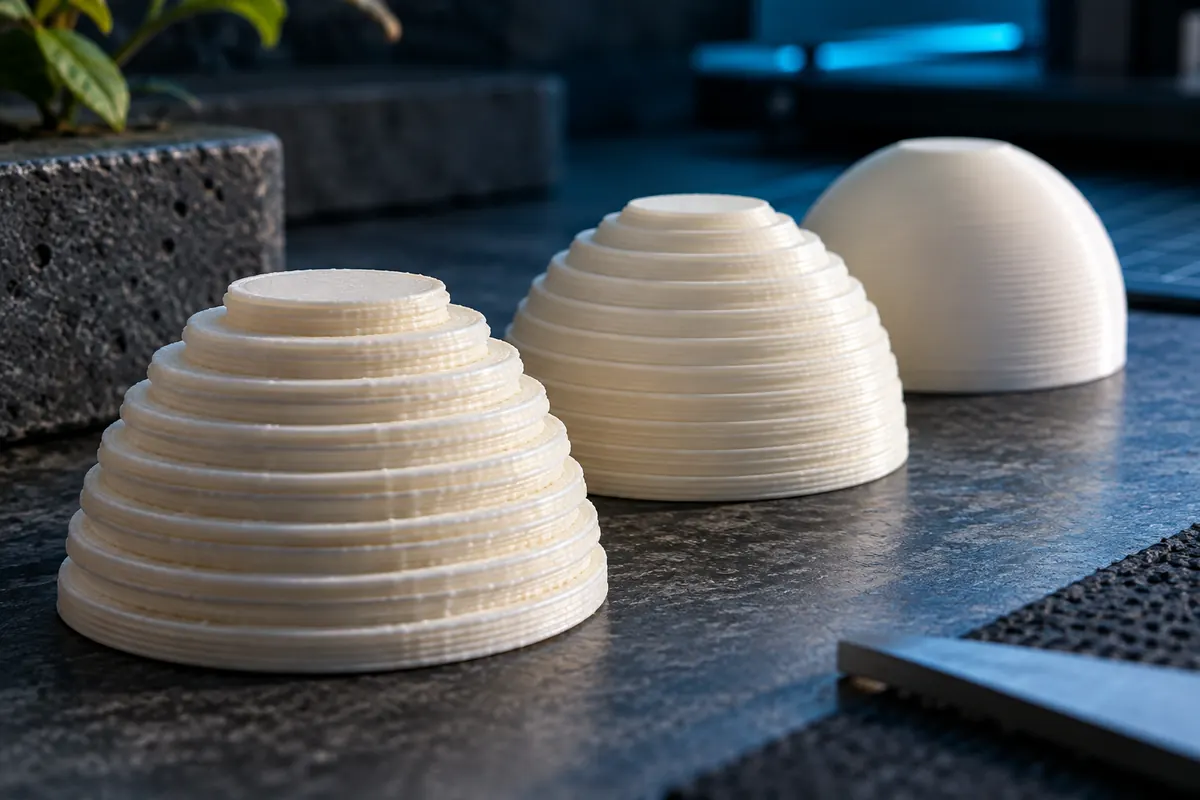
Layer Height Explained
Layer height controls vertical sampling of the model. It affects surface steps and the number of layers but does not independently determine XY resolution.
Read guide →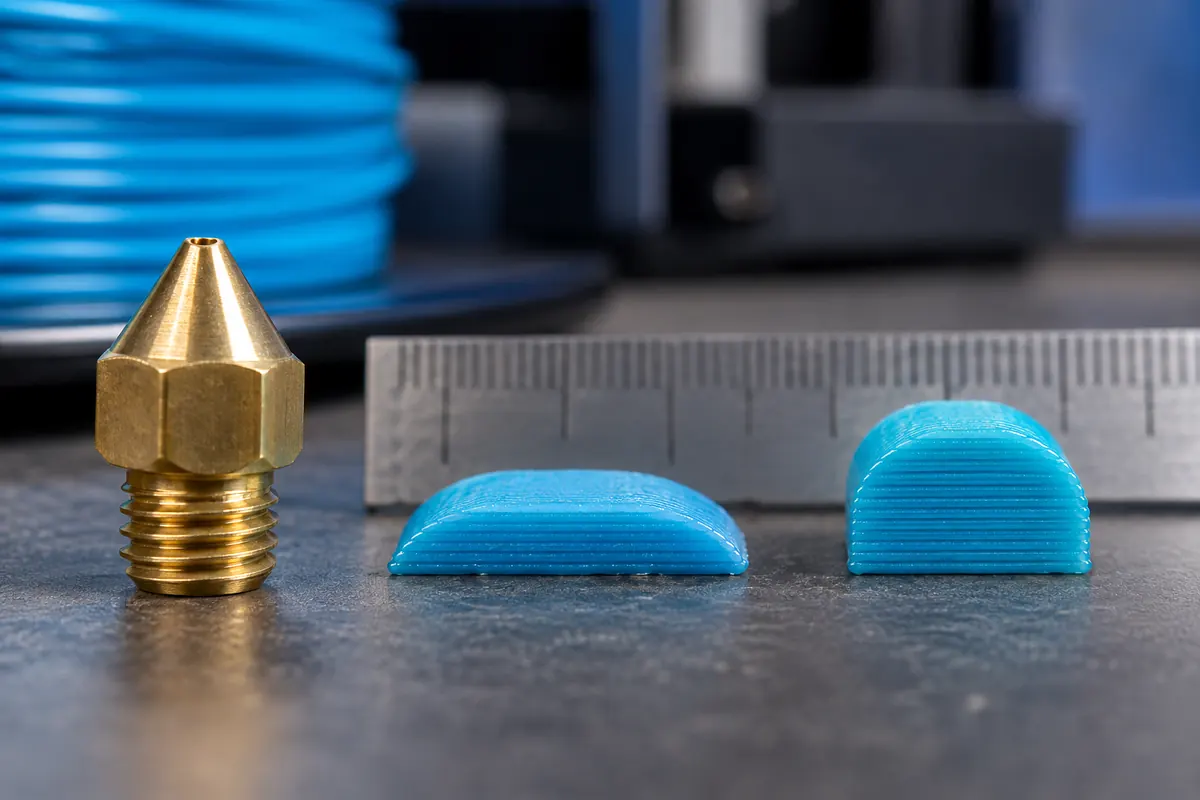 Slicer settings
Nozzle Size vs Layer Height
Nozzle diameter and layer height describe different axes of extrusion geometry. A supported nozzle profile connects them through practical deposition constraints.
Read guide →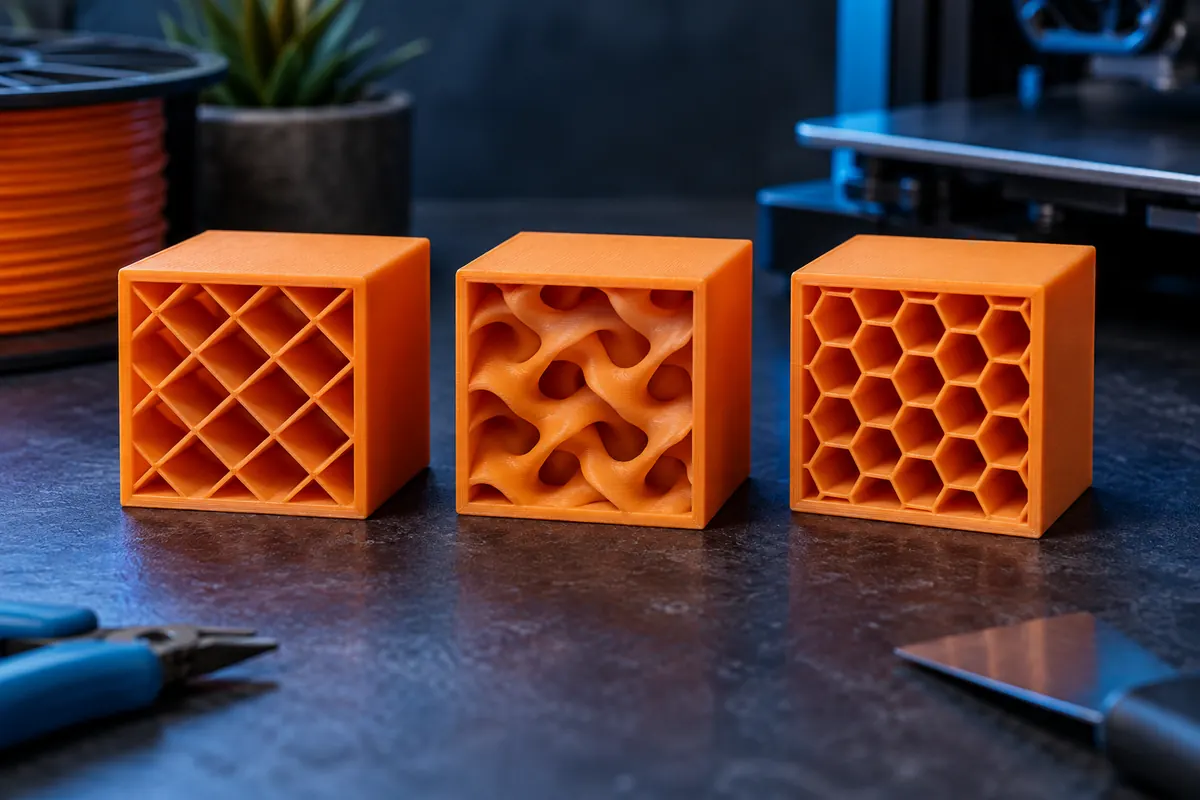 Slicer settings
3D Printing Infill Explained
Infill supports internal structure and upper surfaces while walls define the shell. A percentage is a slicing parameter, not a universal strength or mass percentage.
Read guide →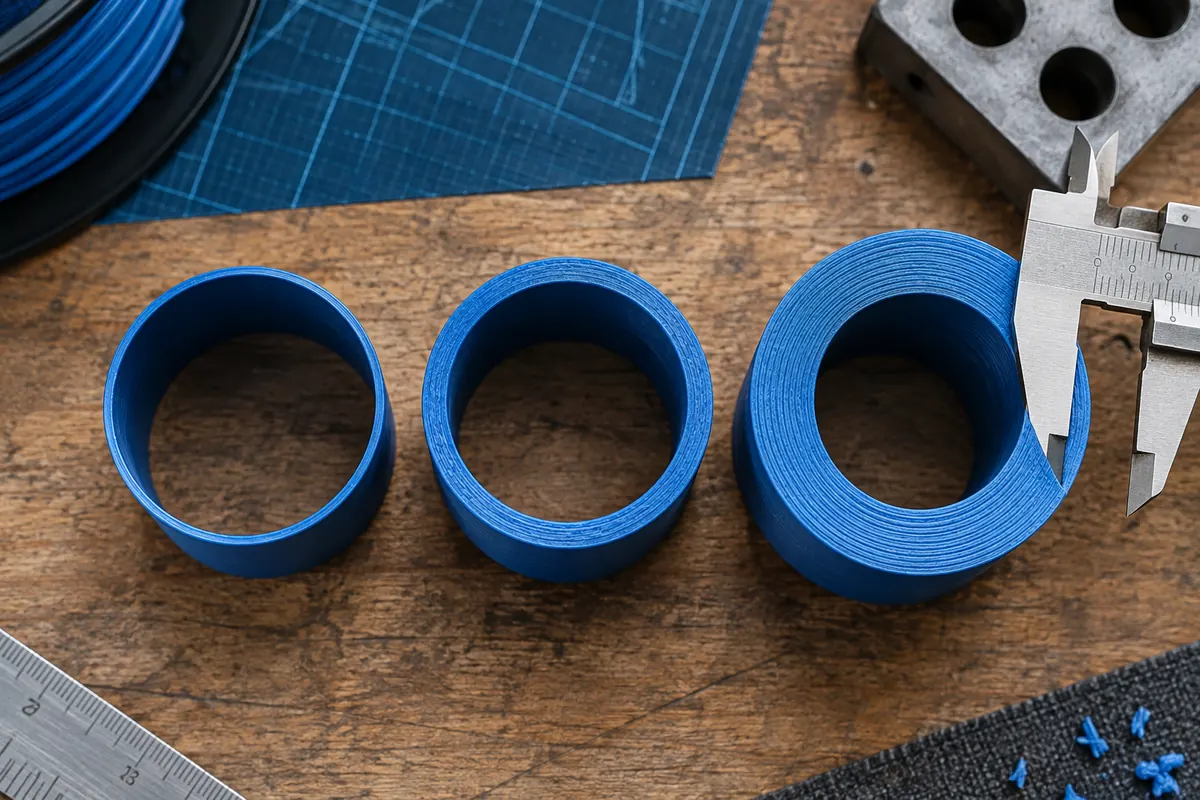 Slicer settings
How to Calculate Wall Thickness
Wall thickness depends on how the slicer lays adjacent extrusion paths. CAD thickness and perimeter count are connected but are not interchangeable controls.
Read guide →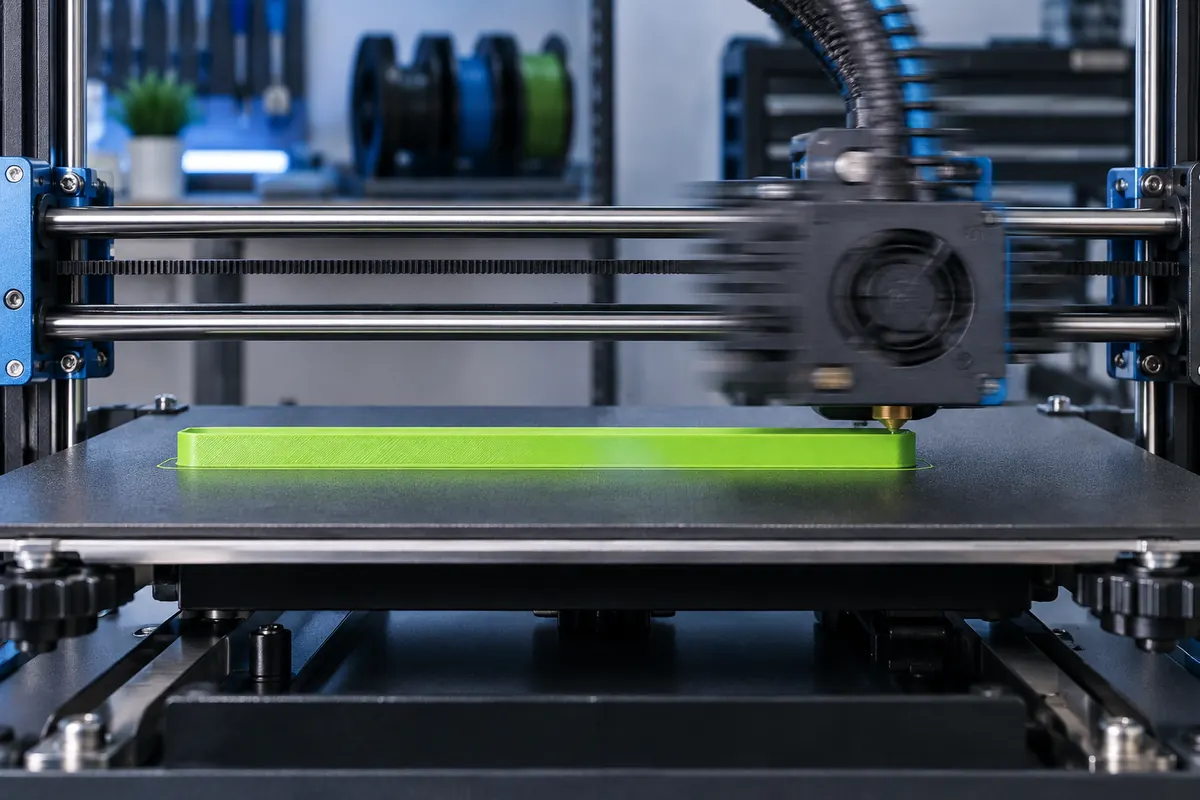 Slicer settings
Understanding Print Speed
Requested millimeters per second are only one limit in a print. Acceleration, feature speed, flow, cooling and travel all influence duration.
Read guide →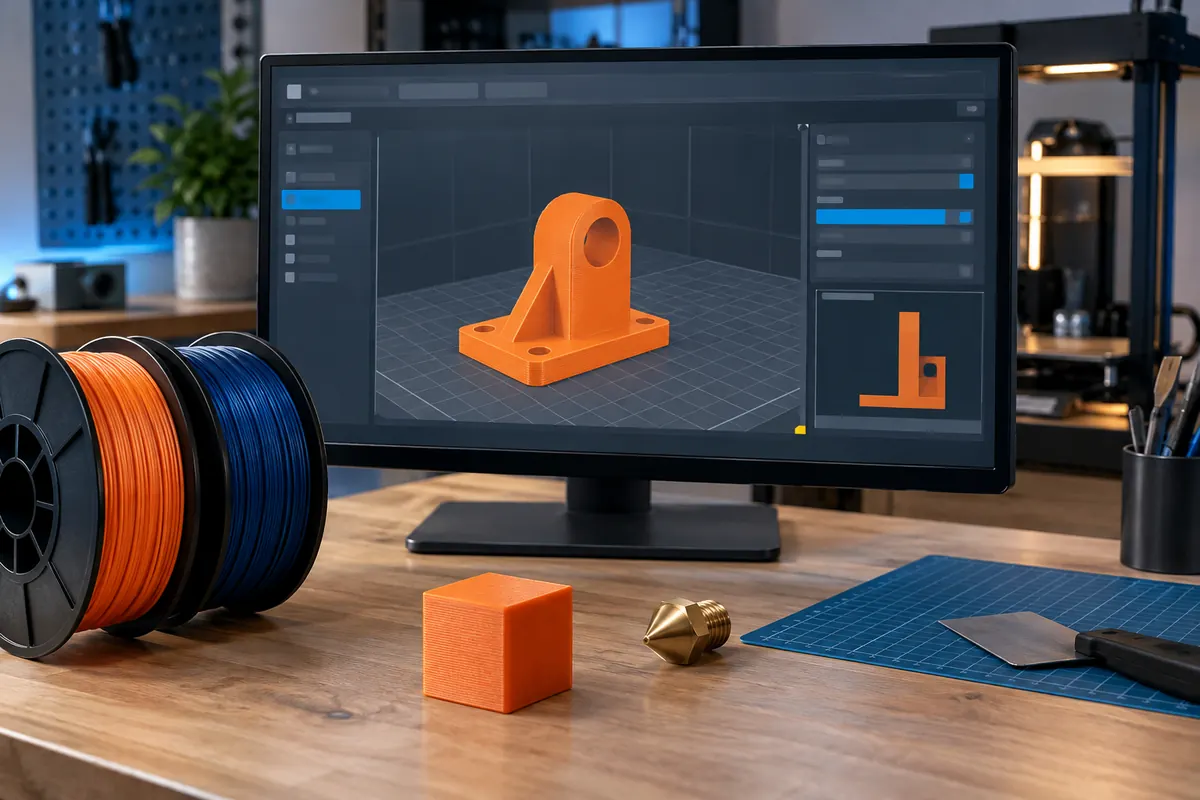 Slicer settings
Common Slicer Settings Mistakes
Many slicing failures start with a mismatched printer, nozzle or material profile. Fix configuration consistency before changing many unrelated quality parameters.
Read guide →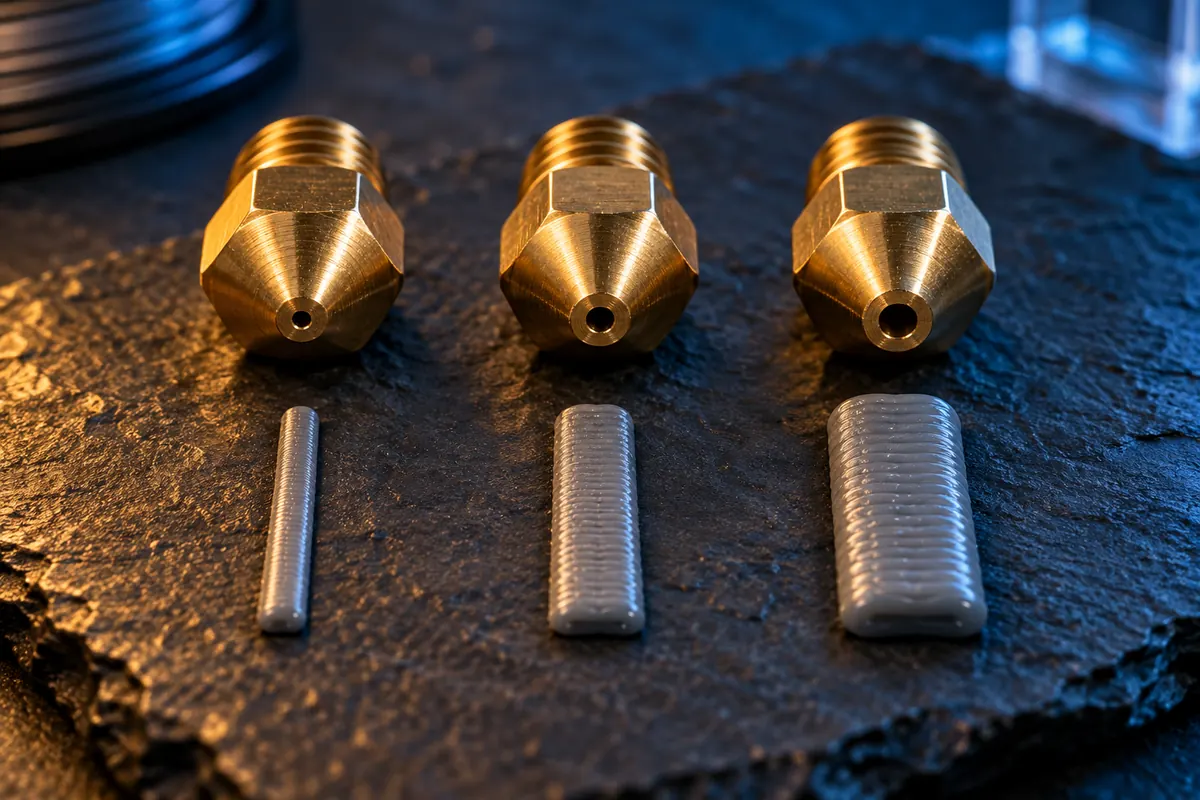 Slicer settings
0.4 vs 0.6 vs 0.8 mm Nozzle: Which Is Better?
Choose a nozzle for the job's smallest features and throughput constraints. Larger openings can reduce path count but cannot create unlimited melt capacity.
Read guide →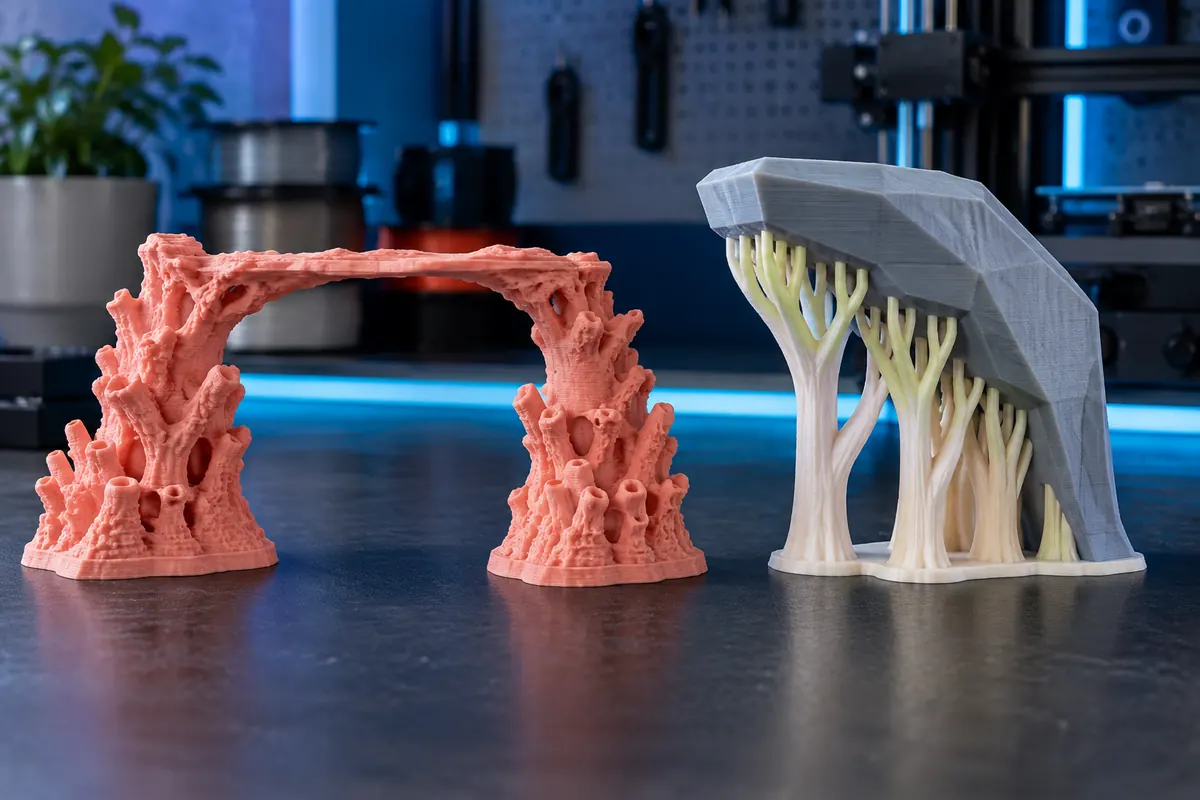 Slicer settings
Supports vs Bridging in 3D Printing
A bridge spans between supporting edges; supports provide temporary structure under otherwise unsupported geometry. The distinction guides orientation and slicing choices.
Read guide →No matching guides.